(Written by Zack)
A few months ago I was browsing Imgur (a picture sharing website) and saw a post where a few guys decided to make a canoe out of pvc and duct tape. I sent it to Tanner saying we should do it - mostly joking - but then decided after about a week that I should give it a shot.
I looked up a lot of other articles and DIY instructions for building a duct tape canoe/kayak, but wasn't too impressed with what I found. If you're going to spend that time and money, why not making it something worthwhile? Here are a few of the examples:
Noble efforts, but neither seem to work very well or be very comfortable. That guy is almost capsizing with his legs not even in the boat!
I drew up several plans, initially wanting to use some PVC connectors and such, but I realized that would make it very boxy, kind of like this guys:
Not a very good looking boat. Using connectors just doesn't allow for the gentle curve that a canoe should have, so I scratched that design and decided to find a different way to build a sturdy frame. I saw an idea on one of the DIY kayaks that helped (the guy in the second picture did it, though not very effectively it seems). So here's what we did!
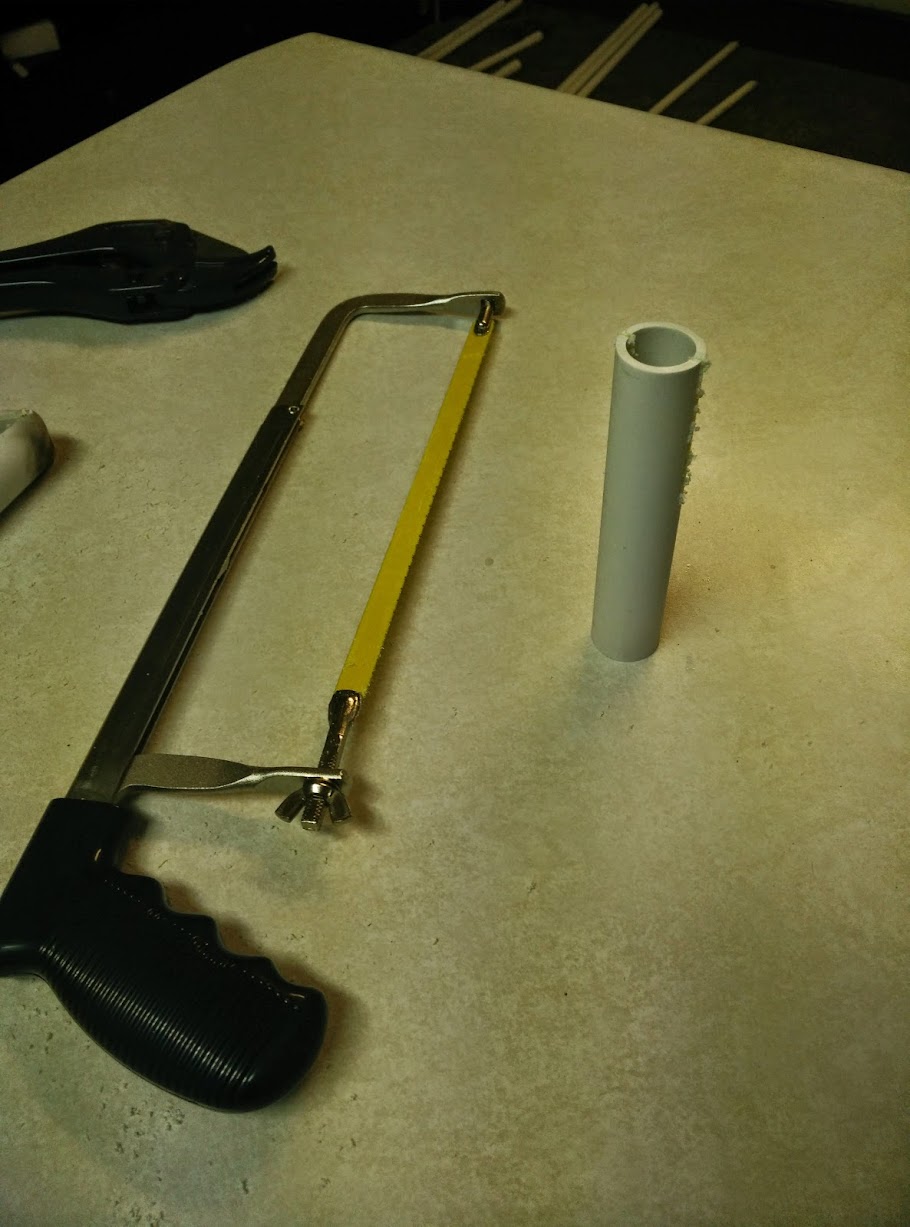
It would be no fun if only one person could be in the canoe at a time, so in order to make it log enough for Hannah and I to both have space we decided to make it about 14' long. We bought about 5 pieces of 20' 3/4" pipe to build our frame with, 1 piece of 10' 1" pipe to serve as our makeshift connectors, and a lot of duct tape to hold it all together. Using the above guy's suggestion, we cut a few sections of 1" pipe into about 8" pieces, and then cut them in half length-wise. Using a lighter, we softened the middle of the cut lengths and bent them to make a V shape, then used them to hold the frame in place.
Using this technique, we built a basic skeleton frame for the canoe. The 1" pipe halves held the 3/4" pip nicely, so with a bit of PVC cement and some tape it held the long ends together very well. We used pipe about 14' long for the top part of the frame, and about 13'10 for the bottom. That way it was a little thinner on the bottom and curved outward as it went up.
For the pieces that connected the long top bowed section to the bottom (the trapezoid shape in the middle) we used more of the 1" pipe semicircle pieces bend in 90 degree angles to cup the 3/4" pipe. It holds impressively well, its a tight fit with the glue alone, and the duct tape provides that guarantee of sturdiness.
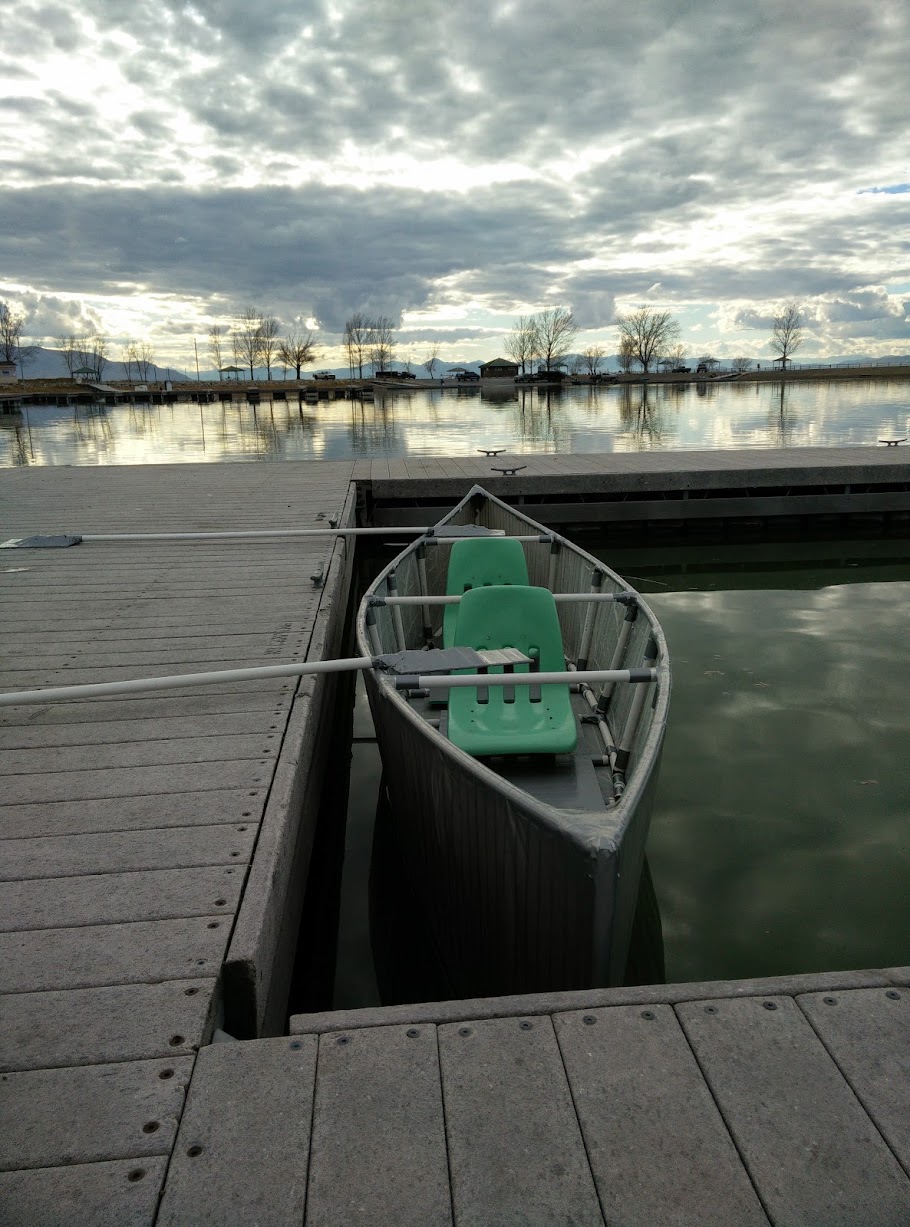
We built out the frame a little more to make sure it was sturdy all around. I also bought some cheap plastic school chairs off craigslist for about $10, to make seats for Hannah and I. Here's a shot of the chairs in the places they'll eventually end up just sitting in the completed frame:
(a lot of netflix was watched in the making of this canoe!)
Satisfied that the frame was sturdy enough, we started to make it seaworthy. A lot of DIY canoes/kayaks used trash bags to help keep it watertight, but Hannah and I bought some painter's plastic normally used to cover furniture during painting. It was about 25'x10x, so plenty big to cover our whole canoe in a single sheet. We didn't want to do it in small plastic sections, better if the whole sheet was uncut to ensure that no water would leak through some gaps.
Satisfied that the frame was sturdy enough, we started to make it seaworthy. A lot of DIY canoes/kayaks used trash bags to help keep it watertight, but Hannah and I bought some painter's plastic normally used to cover furniture during painting. It was about 25'x10x, so plenty big to cover our whole canoe in a single sheet. We didn't want to do it in small plastic sections, better if the whole sheet was uncut to ensure that no water would leak through some gaps.
(Typical Netflix being judgemental - "Are you STILL watching this show?")
That done, it was time to cover the whole thing in duct tape. This took a long time, Hannah was very patient and a great helper!
All done with the canoe frame!
To mount the seats, I drilled the legs off the plastic chair part and mounted them on some 18"x3' sections of thin plywood. I sat them up on some blocks to make sure we were sitting high enough in the canoe to paddle. The wood we found mostly for free from Home Depot in their scrap lumber section.
We built some paddles using a basic outline from a guy here: http://www.instructables.com/id/Make-a-Kayak-Paddle/
Here's the finished product!
Only thing left to do was test it. We took a little too long while building the canoe, so by the time we were done the weather had already turned cold. So weeks went by while people repeatedly told me they didn't think it would float (apparently buoyancy wasn't taught very well in school) and we waited for a nice warm day. So this last Saturday, the clouds parted and the wind died and Utah Lake beckoned. We loaded it up on top of the Jeep, got lots of weird looks, and headed for the lake.
Hannah was fairly trusting but a little skeptical, so we set it in the water for a few minutes while we waited for Tanner and Becca to come and provide both moral support and to be our lifesavers in case of emergency. But it floated! No leaks!
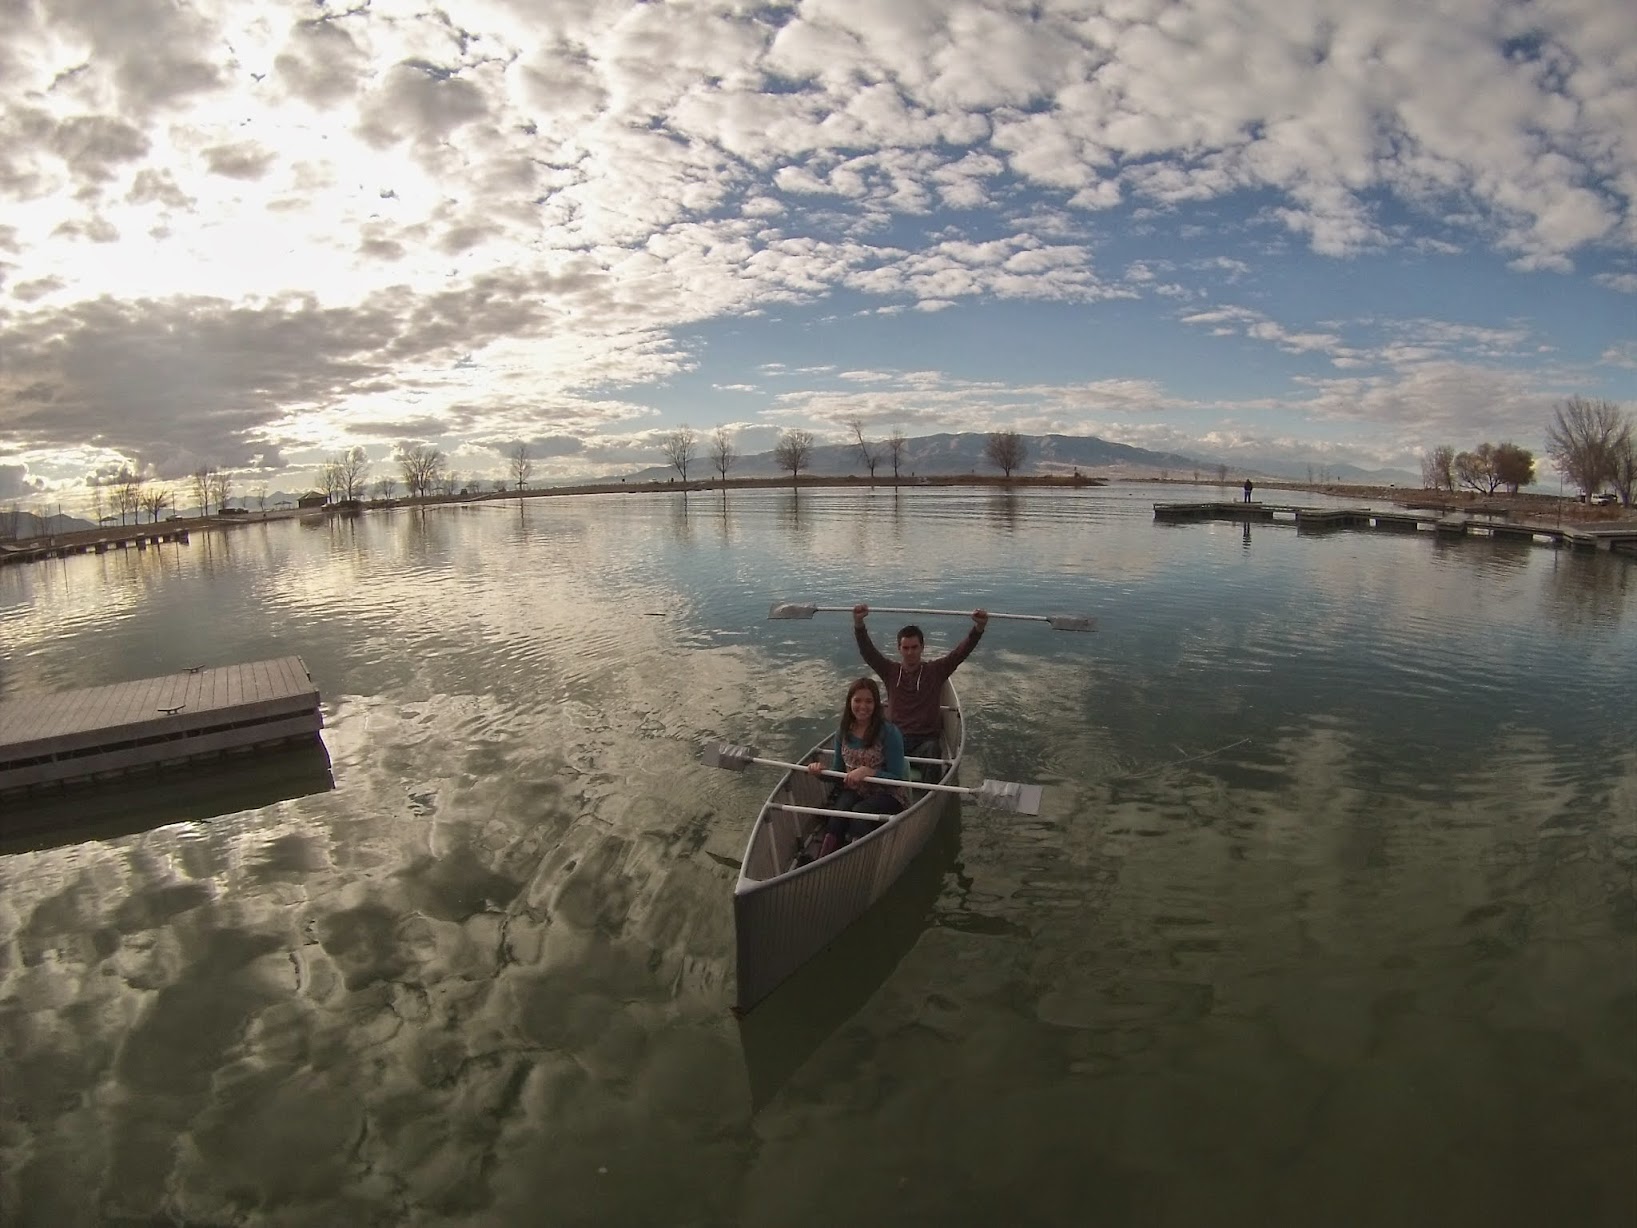
Once our temporary lifeguards showed up, we hopped in. Took us a minute to get the balance down, but once we did, it worked like a charm! We could paddle out around the little harbor and make sure no water was coming in.
Victory!
Satisfied that our canoe worked and happy to get it out of our living room, it's currently spending the winter at the Archibald's where they kindly let us store it in their garage. It's too cold to get wet right now, but now we know we have a canoe to take on adventures come summer! Can't wait!
Here's a small video of our first test as a reward for reading this far :)


0 comments:
Post a Comment